This post focuses on learning the different techniques used in Kutchi weaving and a bit about the traditional products woven for the local market. Part one looks at the preparatory stages of weaving in Bhujodi. Read it here.
Once I had completed my muffler and cut it off the loom it was time to start learning new types of weave. This week Rajesh Vishrambhai Vankar was to be my teacher. Rajesh is the youngest son of the renowned master weaver Vishrambhai and brother of Shamjibhai – also a well-known and respected master weaver. He graduated from Kala Raksha Vidhyalaya in 2009, and now works for the family business in various different tasks as well as weaving and will contribute designs every so often.

I learned weft-faced weave which in Kutchi is called chopera and twill (also called chopera in local language- I often got confused at the names of the weaves, but realised Kutchi weavers may differentiate the weaves in a different way to how we do in the west).
The next day I started on a new cotton warp, set at the size of a stole. If I found acrylic difficult to weave, well this was on a whole new level, and poor Rajesh was having to deal with the consequences -repairing lots of broken threads. Broken yarns are joined together using the same twisting technique I introduced in the last post when the new warp is joined to the existing one, which I still hadn’t quite mastered! I started a pallu (the term for the visible end of the sari, but also used to describe the two end borders of a stole or dupatta) of different coloured twill and chopera and then used white to weave a plain ground. I left spacing – antri, every few inches, to practice both plain weave and antri but also so that I could get the ground finished quickly – I had just got up to the start of the opposite pallu in the space of one day! I took a photograph, noted down measurements, colours and type of weave used so I could mirror this at the opposite end.

Following completion of the stole, I worked on a square piece to practice weaving with a white weft and white warp which gave a chance to see the textures that the different weaves were creating. I then leaned the zari patha (border) which has a similar pattern to twill but instead of alternating pedals 1+3. 2+3, 2+4 and 4+1, zari border involves pressing 3 pedals each time: 2,3+4, 1,2+4, 1,3+4 and 1,2+3 and to change direction you would follow this sequence in reverse.

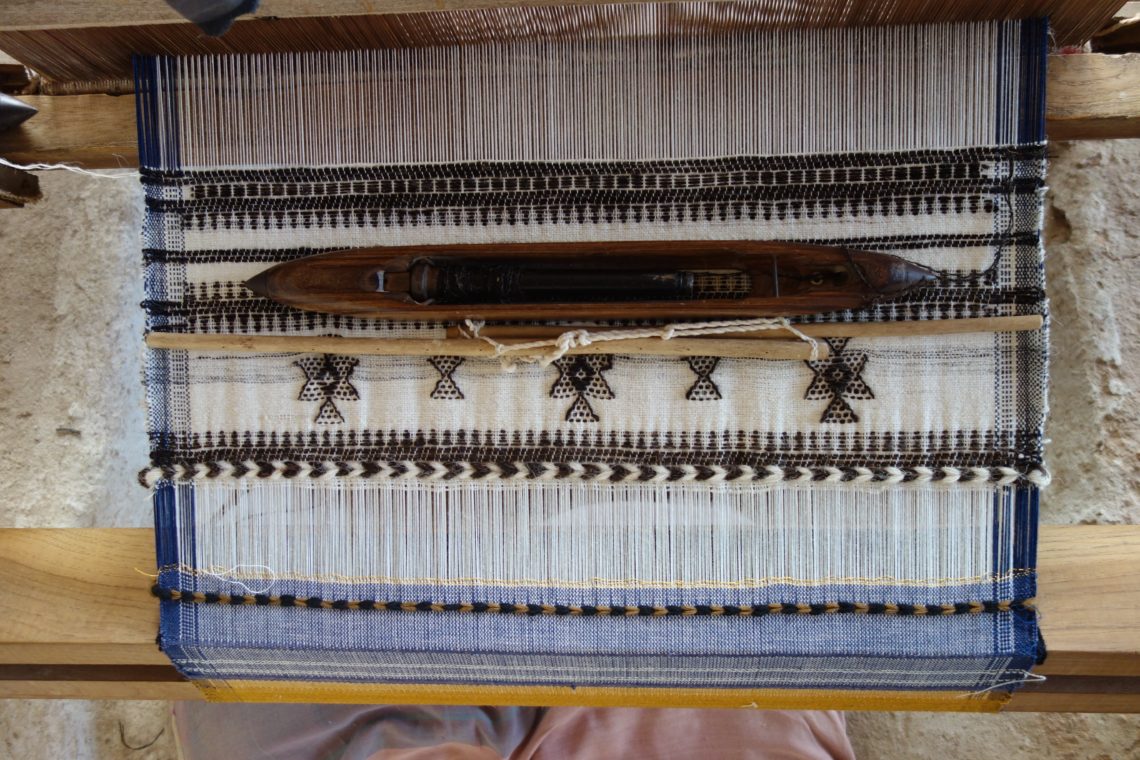
I also learned lath, traditional in Kutchi weaving (in the above image – the black and bordering the zari), which has a dominant and thick texture created by lifting only one pedal (first one, then three or two then four depending on the direction).
Traditional Aesthetics sessions: crafts in context
At the start of the final week of the course two days were spent discussing traditional aesthetics, uses and the cultural context of both Kutchi weaving and ajrakh (as Stella the other Craft Traditions Course student was studying ajrakh). Judy, LOkesh, Stella, I and three ajrakh printers – Irfan, Soyab and Khalid studied pieces of ajrakh from Sind and Kutch, as well as other block prints such as those for the Patel community and for women of the Maldhari community (Muslim animal herders) in Kutch. We learned about the names of particular patterns and motifs, as well as colours and how patterns varied depending on the client. We did the same in Bhujodi with master weavers Shamji and Dayalal as well as my teachers Purshottam, Prakash and Jyantilal.

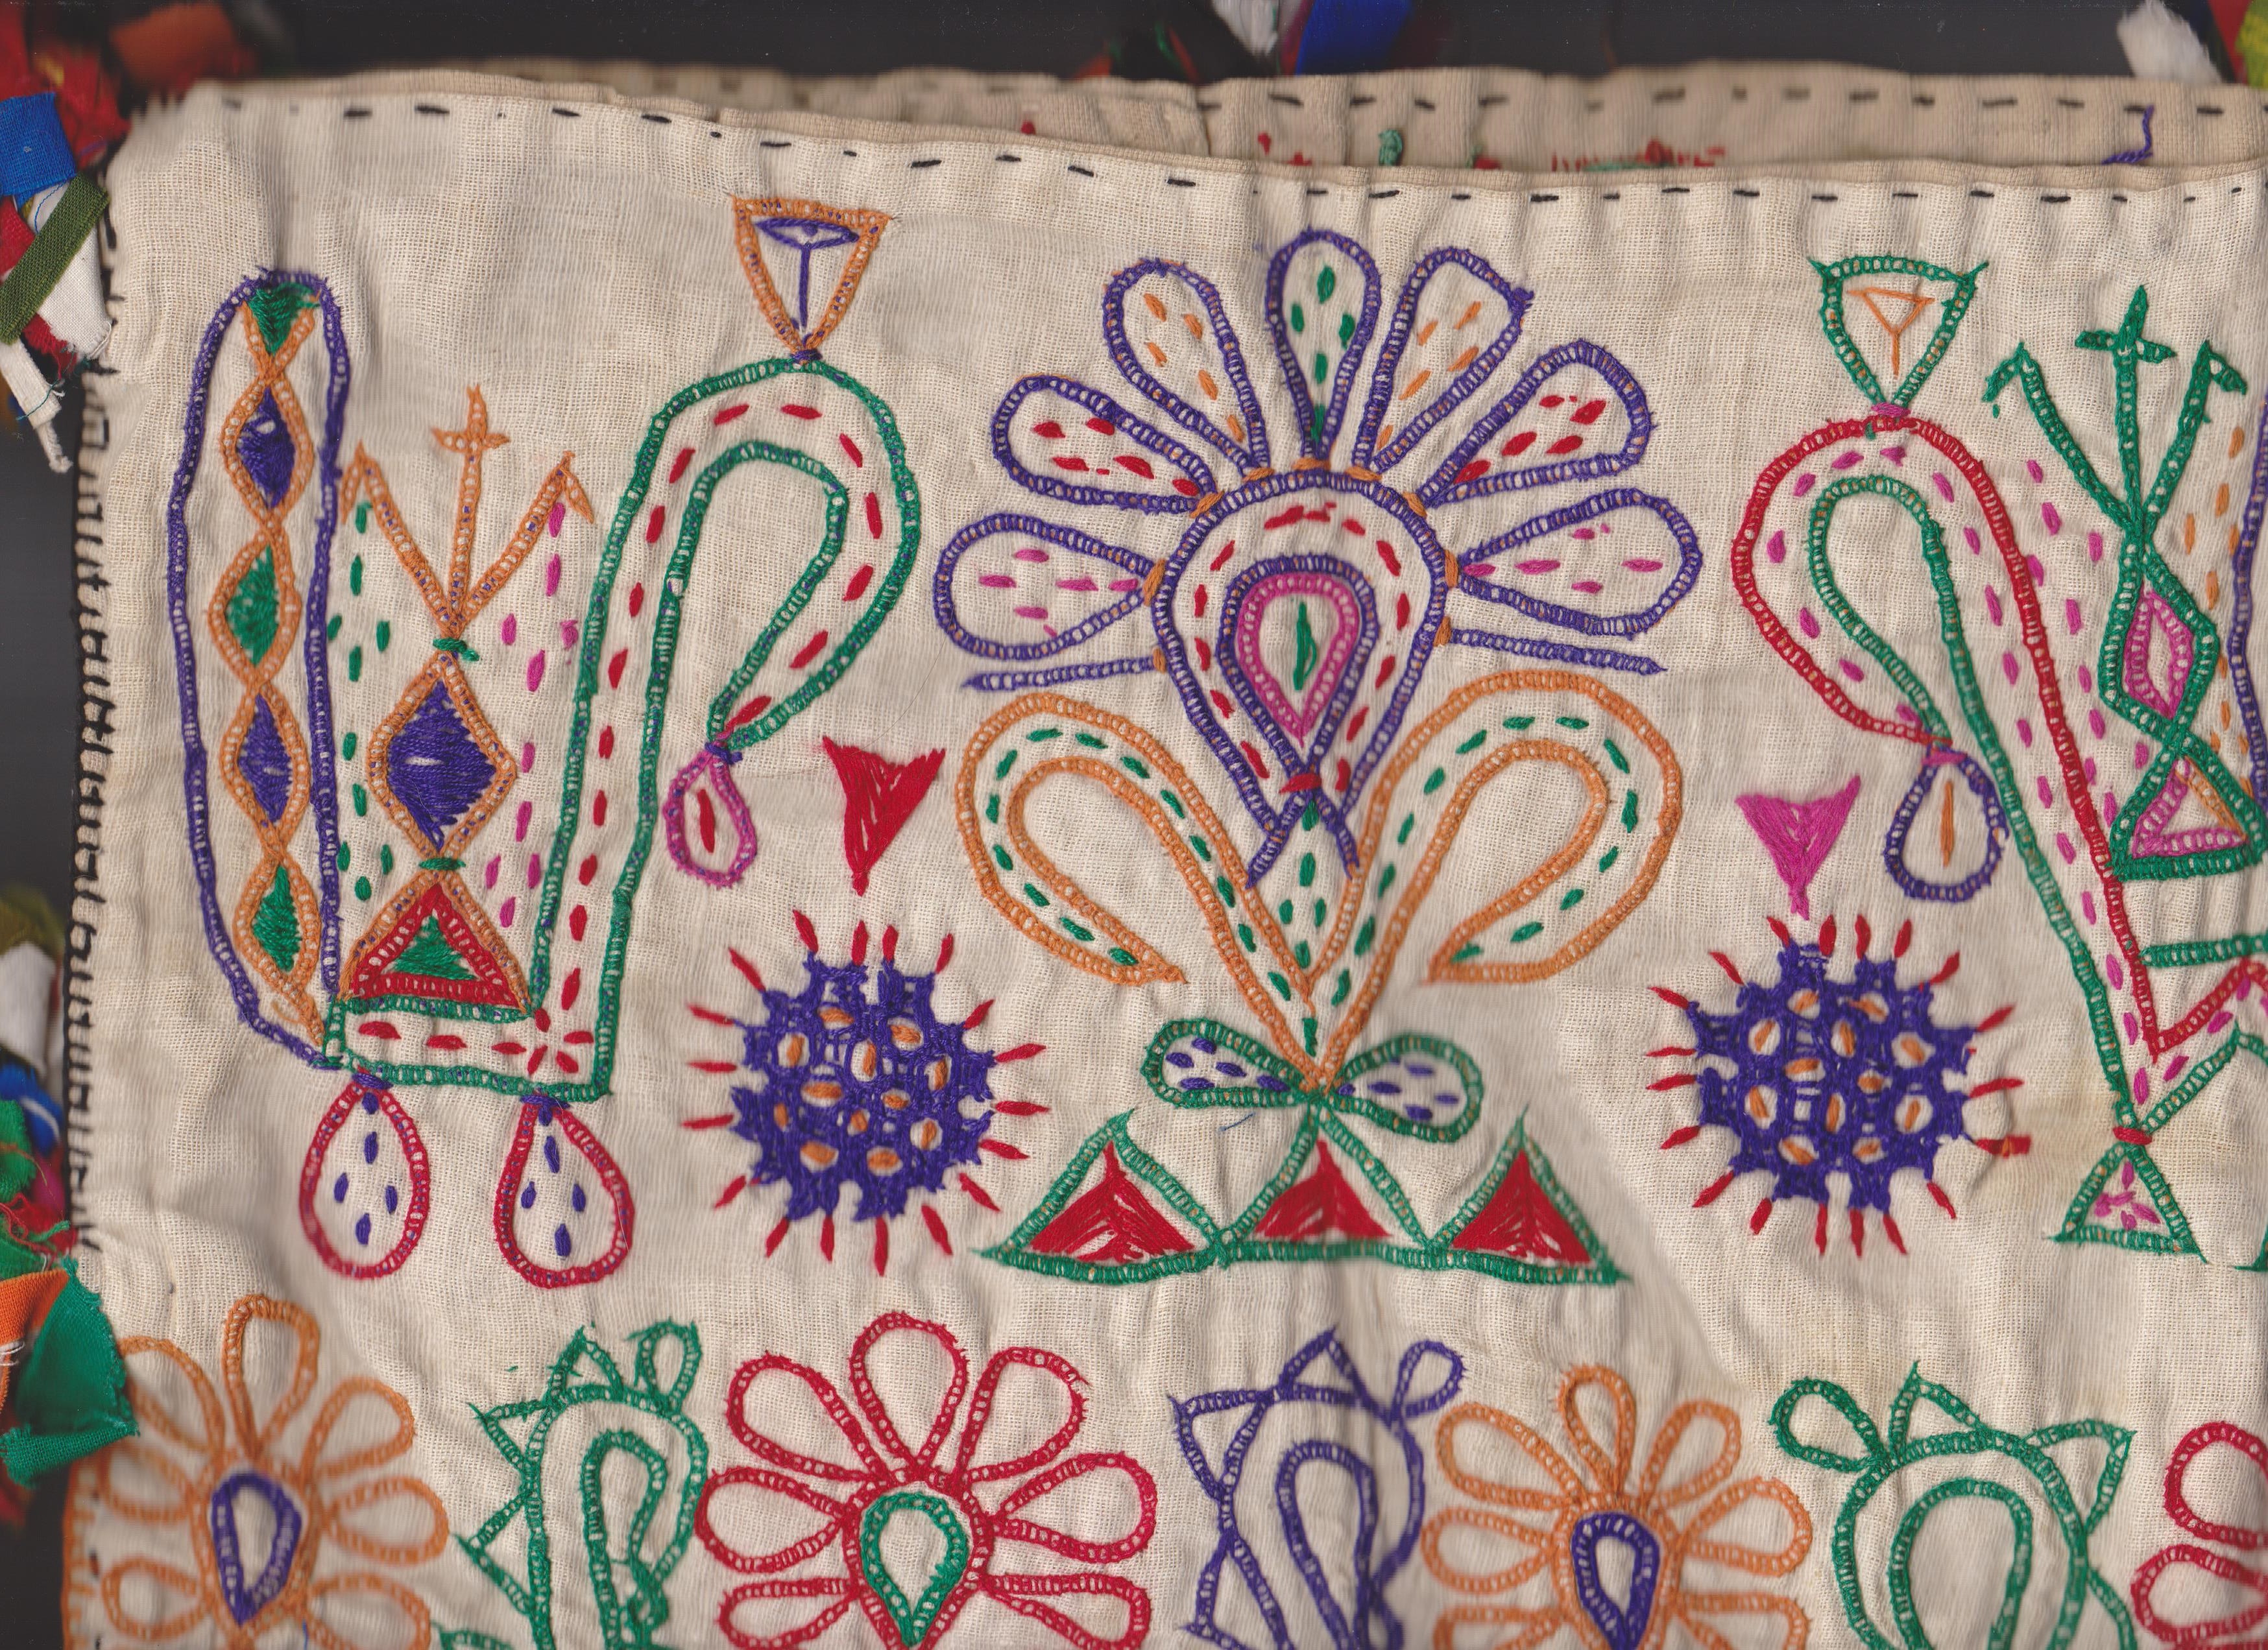
We examined traditional products woven in Kutch including the dhabla – blankets woven for the Ahir and Rabari communities, the pagri – turban cloth, ludi – Rabari shawl richly decorated with embroidery and bandhani which I have written about in more detail here, and plain cloth that was printed or embroidered on and used for a variety of items. One of my favourite pieces was the adivto – a shoulder cloth for men, woven in three separate parts and with a decorative square pattern in the middle part and multicoloured stitching at the joins. The old-style hand looms in use commonly until around the 1950s didn’t have the pankha – large upright frame that holds the fly shuttle and phanni and used to beat the cloth, so the shuttle was hand thrown. They were also much narrower than today’s, and so usually the women of the family would hand stitch the pieces together to get the required size. I love the way they make the joins such a decorative feature!

I could say much more about what we discussed over the two days, but this post is already becoming too long! I’m sure the things I learned will find their way onto this site somewhere though. I also have videos and recordings which I’m yet to edit!
Hand Spinning
The last few days of my course were spent weaving a stole based on the traditional dhabla. The dhabla is made up of two parts stitched together – I just wove the whole design on a single piece. I continued on a cotton warp, as we decided it would take too long to re-warp, and then weaving on a desi (local) wool warp would take a long time due to its susceptibility to break. The weft yarn I wove with was hand-spun, un-dyed yarn from local sheep. Hand spinning in Kutch has dramatically declined over the last few decades. It is not compatible with the large orders the weavers are receiving from urban markets. Before these clients came along they would weave only when a dhabla, ludi or any other woven item of clothing was required. The wool was spun by the Rabari community, a major client of the weavers’. Shamji is encouraging a revival of hand spinning in Kutch and he employs a group of Rabari women to spin the desi wool for his dhablas, as well as the simpler adaptations of these which are very popular as throws in the western market. I spent a few hours sitting with the Rabari ladies to observe the spinning which they used the traditional charkha for – and had a go. It took a lot of persevering, and while I was getting just about the hang of it, would need lots more practice to get as good as the ladies teaching me.
Extra Weft – the emblem of Kutchi weaving
So the time had come to finally learn the distinctive extra-weft patterns that Kutch weaving is well-known for. The chomak, dungli, popti, vakiya and satkhani. My teachers for the final session were Prakash and Nitesh Namori Vankar. We first had to prepare the drafting for the varach which is an extension of the rach (heddles) controlled by the peddles. Often more heddles would be added for this, but for temporary purposes and often in Kutchi weaving the varach or char (the name for the drafting process) is used. Wooden sticks are placed between each set of warp threads and when weaving, the wooden sticks lifted by hand in the same way a heddle would be lifted by the peddles, alternatively to create the popti (butterfly) pattern.


All other patterns listed above – the ones that are more pictorial, are created by manually adding in the weft while lifting the warp threads by hand, almost like embroidering on the loom but before the fabric is complete! This was quite mathematical and so my brain not being maths inclined, took a while to understand the number and order of the yarns to be lifted!
One of my favourite techniques to learn was the sachikor pattern, partly because I’m fascinated by the design as you see variations of this motif in weaving all over India, often called the ‘temple motif’. Inspired by temple spires, each region has their own version. It has a very distinct look in Kutchi weaving, most notably in the dhablo, heavily used in the borders at regular lengths. To weave it, you pass the shuttle which is holding the white yarn (colour of the main ground) through, and before passing it back the other way, you hook the black yarn through the white yarn, throw the shuttle and pull the black yarn to the required length. This is then repeated, and the black yarn will be longer each time to create a staggered triangle shape. In between each, I wove about half an inch of plain weave. My sachikors were not regular of course, but then it was a good opportunity to play with different sizes. This was done at each side all the way until the start of the end pallu.
As before I had taken a picture of the first pallu, so that we could repeat it going in the opposite direction in the other end. It took a long time, and a lot of Prakashbhai’s help and patience, but I got there in the end – it took me almost four days to complete!

The final afternoon of the course was spent learning finishing and we added tassles to my dhablo stole.
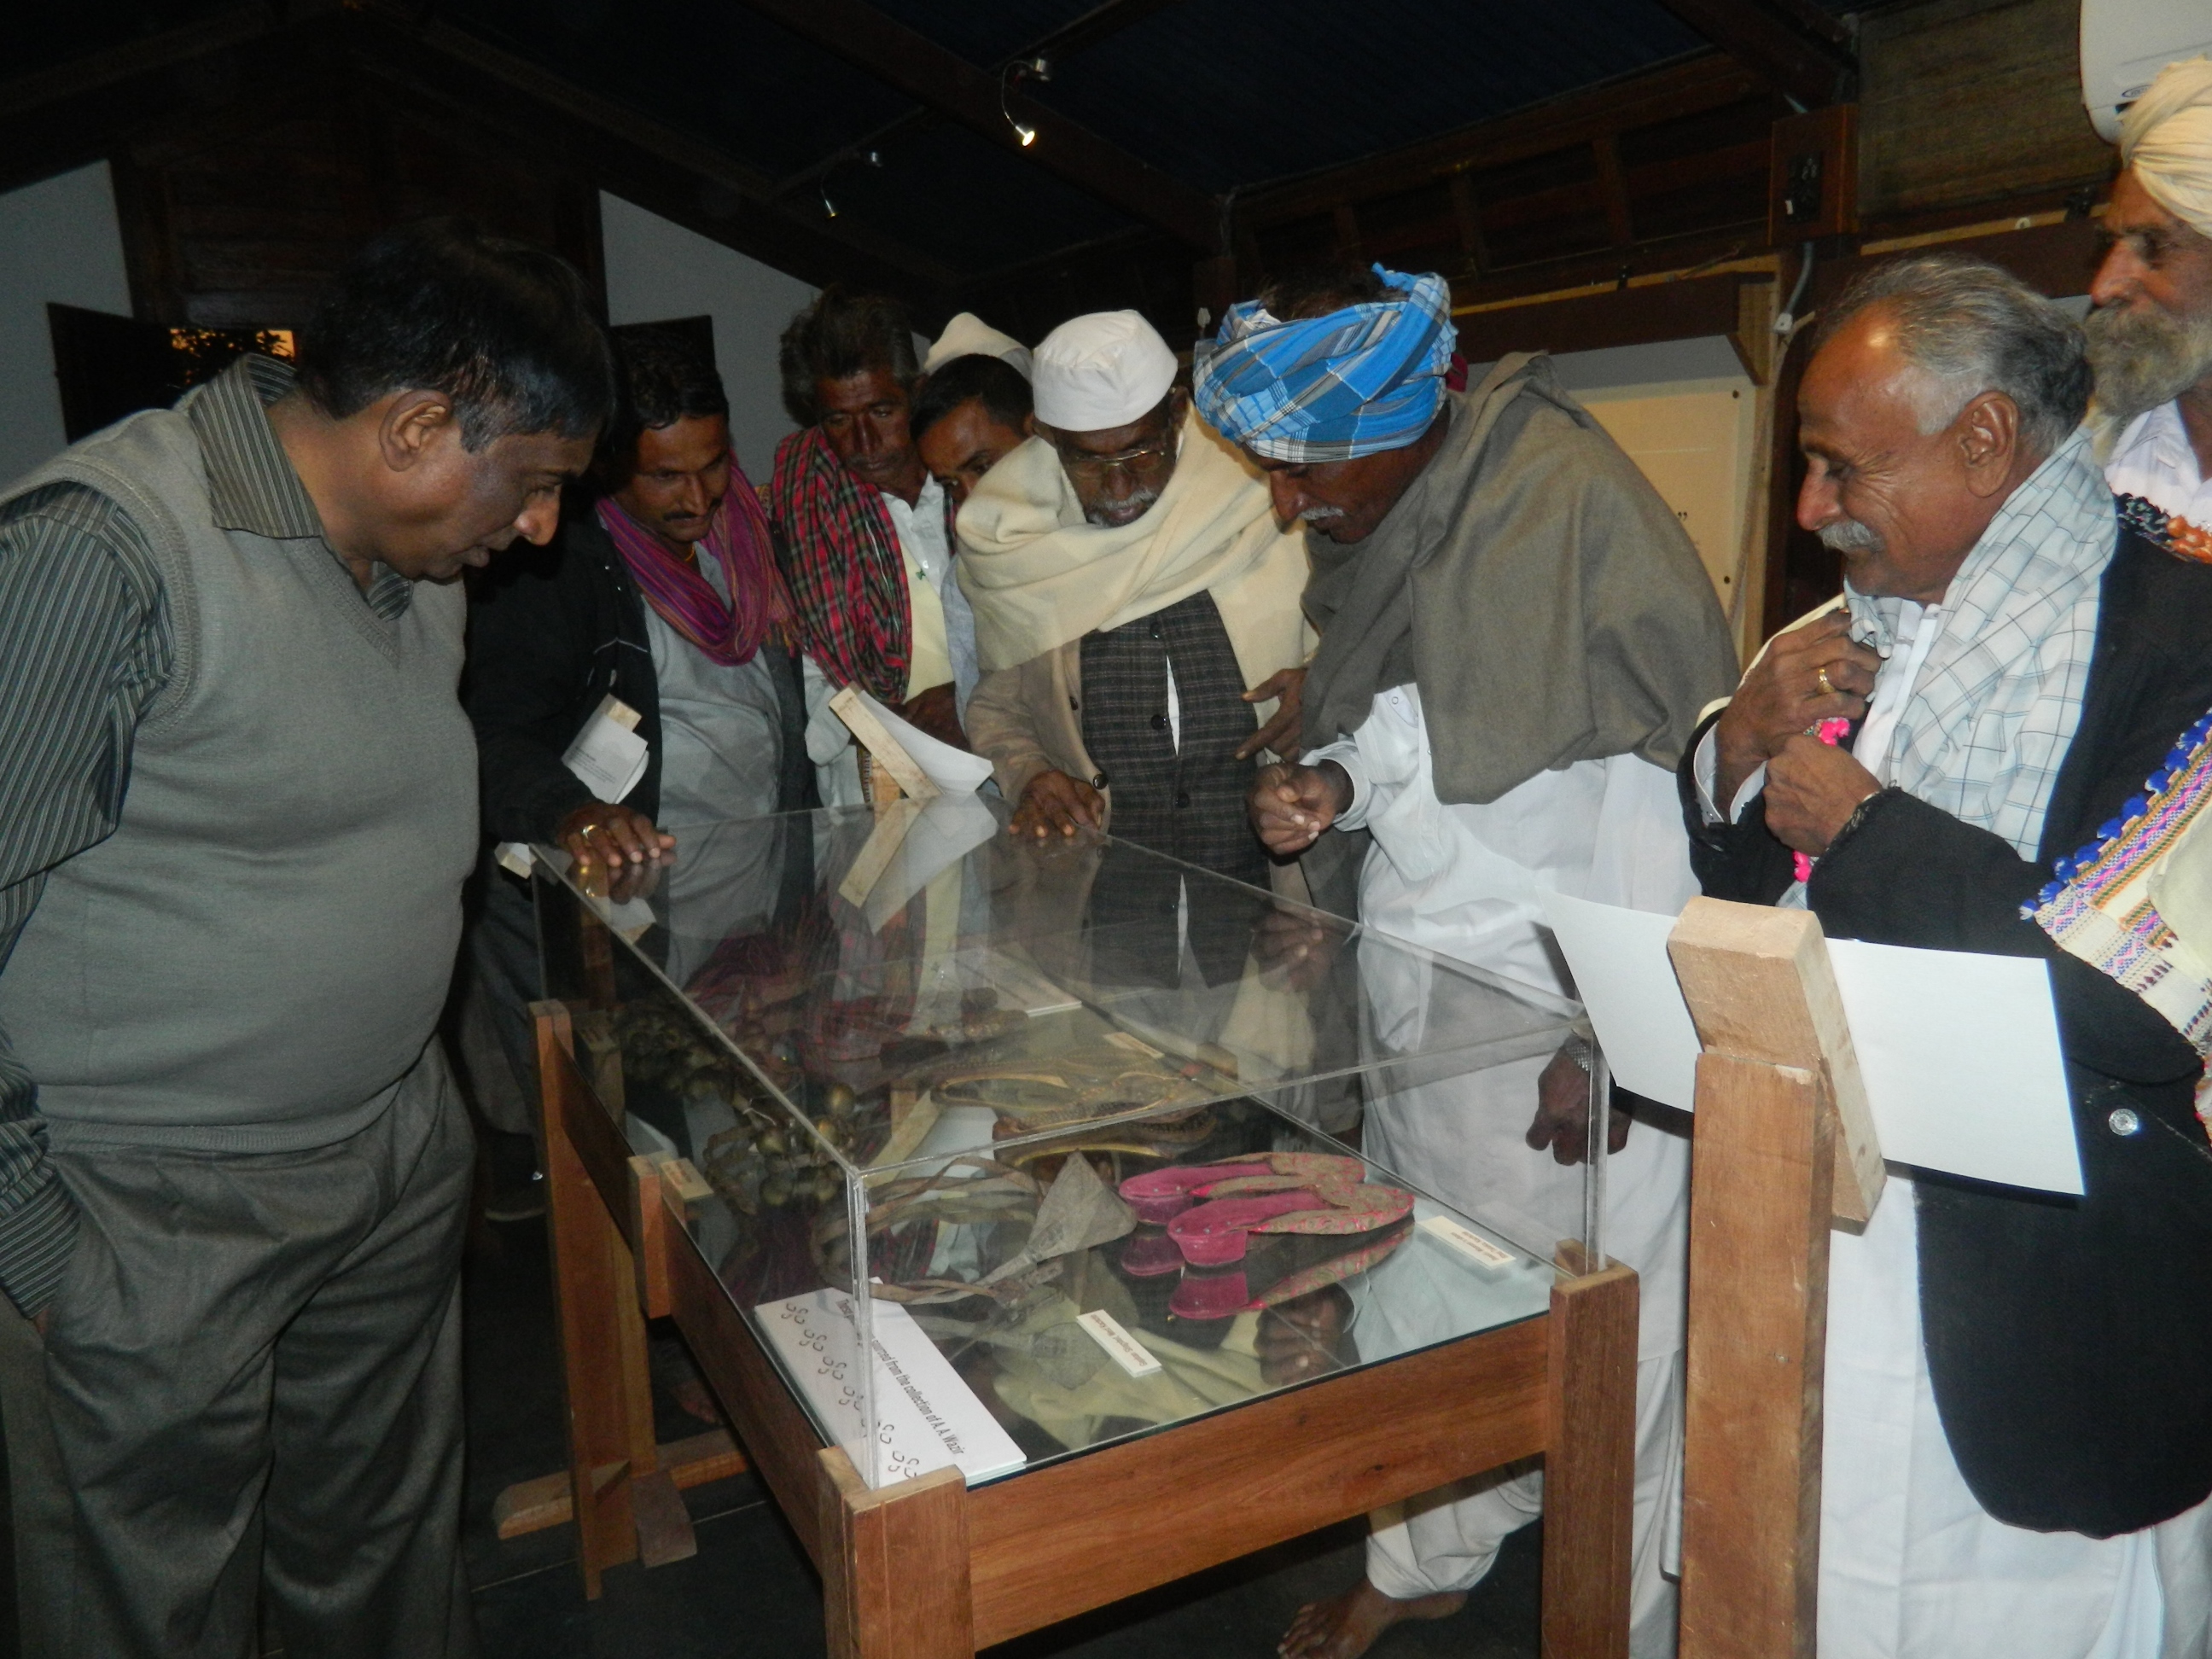
The following day both I and Stella presented what we had learned back to our teachers and a few other weavers and printers. It was nice to have the chance to show something I had made, after so many weavers and other artisans showing me their work. I hope that it gave the audience a chance to see their craft from a different angle, and that for the teachers, they learned a lot through teaching too.

Acknowledgements:
I’m very grateful to Judy Frater of Somaiya Kala Vidya for designing the course in collaboration with the weavers and for both Judy’s and LOkesh Ghai’s hard work in coordinating it. LOkesh Ghai also helped with translation which was immensely helpful. I’m also grateful to the weavers Prakashbhai, Rajeshbhai, Niteshbhai, Jyantibhai and Purshottambhai for their very good teaching, patience, help and enthusiasm!


5 Comments
Shila
Makes one want to jump into a weaving class, yet I know how difficult it is to produce even the simplest stole. You did a fine job, Ruth!
Thanks Shila!
Keryn
A wonderfully in depth post which was fascinating to read and really get a sense of the incredible skill and history of weaving in India. Brilliant. Thanks very much.
Thanks Keryn, glad you enjoyed reading it, and that the high level of skill and technique and rich history involved in this weaving came across. Ruth
Jo / The Desert Echo
Stunning. I love the pattern you achieved.